Search
Menu
Home
Browse All Photos
See All Tags
See All Photographers
Submit a Photo
Browse All Photos Photographed by
J.K. Sutterley and Co.
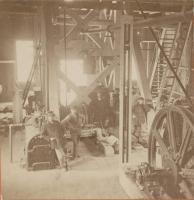
Sutro Tunnel Shaft #2